How We Built a Secret Turf Room in our Basement
We built a turf room, gym and secret fort in our unfinished basement

When we were looking for houses in the mountains, we found that not many had enough space for our (growing!) four boys. We were moving from the city and it was a dream to live in the mountains but we had a hard time getting our head around moving to a smaller house.
We then found this house that had a huge section of an unfinished basement behind a secret bookshelf door! We started dreaming about what that space could look like and of course our boys instantly said, “Turf room for soccer and lacrosse!”
It was then that we “bought” the house - even though we had not even given an offer yet. No going to see other houses after that - our boys made up their mind!
Starting Construction
We interviewed a handful of general contractors. We knew we didn’t have the time to do all the work ourselves and despite it being a simple project we needed some plumbing, electrical and HVAC work. We got bids that varied in price, but we settled on a local contractor who lived down the street from us because he could best see our vision and he was very transparent on the cost.
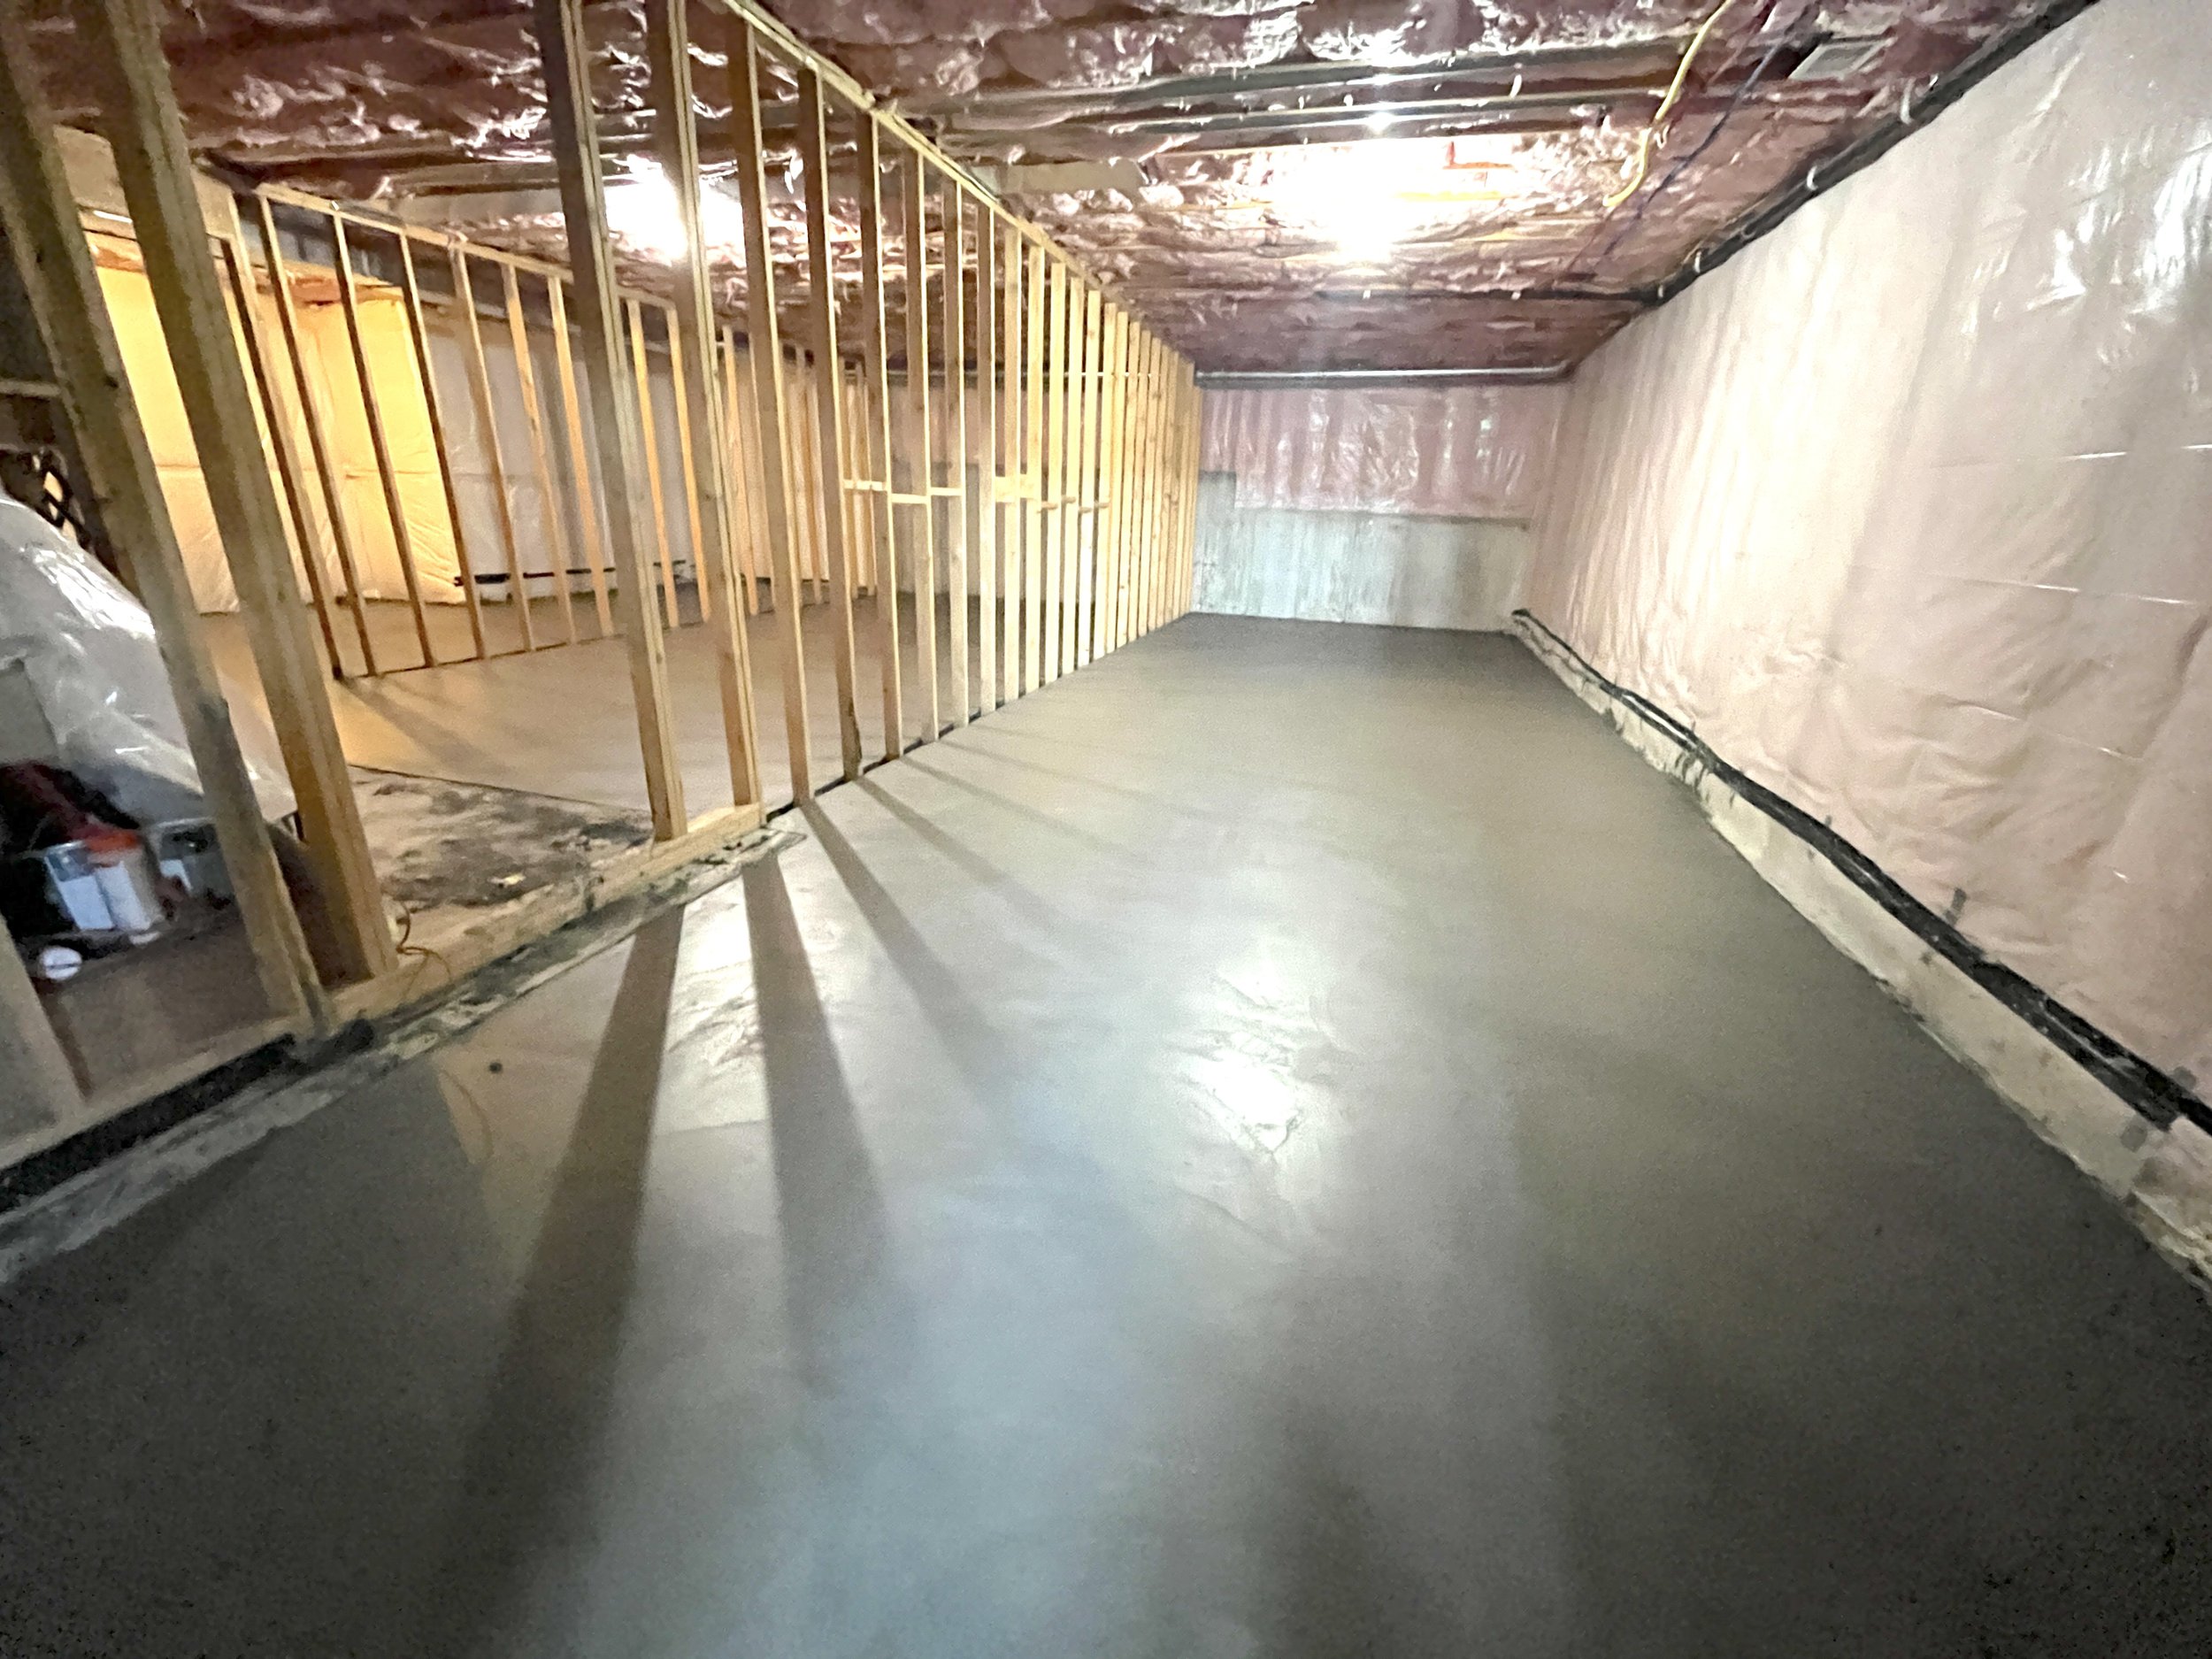
Step 1: Concrete
The first step was pouring the concrete. The previous builder left a dirt floor with a vapor barrier so we needed to shore up the concrete to level it with the flooring for the rest of the house. Thankfully the foundation was set and the framing was in, so all they had to do was add 5 inches to match the other floor. They used a 120 foot long pump that poured the concrete from our driveway down to the basement. It was a mess but it cured fast and worked out perfectly!

Step 2: Framing and Windows
For being an unfinished basement, it was amazing that the exterior walls, and the interior load-bearing, walls were framed already. That made it very easy (and cost effective) to have to do minor framing for the secret fort, the doors into each room, and the new windows. We did not want windows in the turf room because, of course, they could break, but also because the kids wanted it to be as “secret” as possible. We decided to put windows in the gym for a bit of natural light when working out. I was nervous because the windows are under an outside deck so I didn’t think there would be enough light coming in but I was wrong: it makes a huge difference!
Step 3: Electric, plumbing and HVAC
Since we weren’t putting a bathroom into this space, we didn’t need much plumbing. We have radiant, in-floor heating throughout the rest of the basement, but we didn’t need to do that in a gym space and the turf room already had forced-air heating vents that came from the ceiling. So we had a plumber and HVAC specialist tie-in to our existing system and install in-wall heaters that run on hot water and can heat the gym room as needed, even with it’s own thermostat! The electrician installed necessary outlets, including outlets high on the wall so that we can install a wall-mounted tv. We also installed can lights in the ceiling.

Step 4: Drywall and wood panels
We decided to install drywall in the gym space like any other normal room. But for the turf room where soccer and lacrosse balls will be careening off the walls and boys will be smashed into them, we needed something sturdier.

Our contractor recommended panel walls that they install in horse barns. If horses can’t bust through it, I would hope our boys wouldn’t destroy it (verdict is still out). They are a little more rough to the touch than I was hoping. Maybe we should have done finished plywood, but it is super durable and would be easy to replace if needed.
Step 5: Painting
We then painted everything white. The walls and trim got paint and the wood panels had to be a stain. I wish we would have painted over the stain so it was a richer white (without some of the wood shining through) but it sill turned out great.

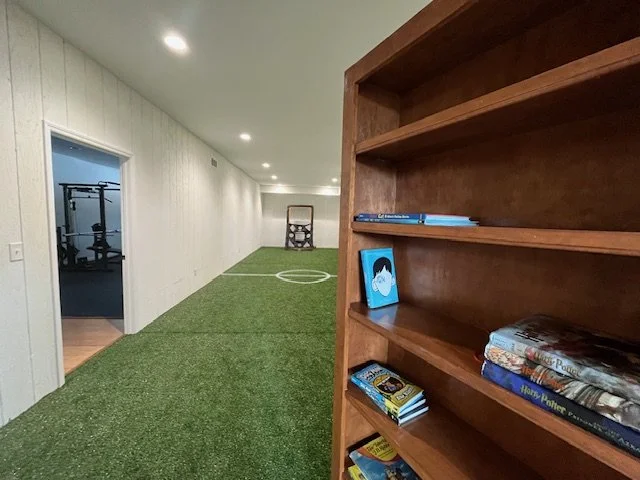
Step 6: Installing the Turf
I found an online company that specializes in indoor turf. I had no idea what I was doing but I just measured the space and worked with them on sizing for rolls. At first I thought I would get one huge roll so there wouldn’t be any seams, but they told me that would be more than 1,000 lbs to ship and to carry down in the basement (and to try to install) so 3 pieces would be more manageable. I had to cut the sides down to fit exactly. I used heavy-duty carpet tape to secure the turf to the floor and then it came with a seam kit that had me put the pieces together and use a glue that bonded them together. Cutting was tedious and you had to make sure of your measurements because they were large pieces you didn’t want to have re-shipped, but it turned out great.

Step 7: Installing the gym floor
Much like the turf, the gym flooring came in pieces. This time it was 8 big rolls of 3/8th inch rubber flooring 15’ wide. They were heavier than I thought but more manageable than the huge big three turf pieces. These pieces were difficult to cut (I had to use a circular saw) but they fit well and secured to the floor with more carpet tape.
Usually you make seams that run the long length of the room as opposed to perpendicular, but that would have required a difficult (and easy to break) seam against the wood flooring we have in the entry-way to hold the sauna (flooring we found in the basement when we moved in - free!) and a large seam in the middle of the room so that we didn’t have 30 foot sections of flooring that were too heavy. So I put the seams the other way and you can barely even tell they’re there. It looks amazing and it’s nice to not workout on concrete.
Final Pieces
We painted some lines on the turf floor like a soccer field. We are undecided on what type of soccer goals to install. Don’t want to just paint lines on the wall (kids will argue if the ball went in or hit the post) but a big net may take up too much space and my oldest uses the throw back net for lacrosse. So we didn’t paint any goal lines but the center line looks cool.
We installed some comfy chairs and Christmas lights in the secret fort under the stairs for the kids.
We also installed a sauna. We got a two-person FAR infrared sauna from JNH Lifestyles. We originally bought from Costco but they called me after I ordered and told me they couldn’t deliver to my mountain home! We upgraded to get an ultra-low EMF version, though I’m not sure we’ll ever know the health benefits from that. It was easy to install and doesn’t need a vent or any special electrical outlet. We did talk with our electrician to ensure we had enough power in that room and he rerouted some voltage to that space before we drywalled which gives us peace of mind that we’re not overdrawing.

We Love It
Kara and I love having a dedicated space to workout that doesn’t involve a dog or child rolling on the floor next to us.
The kids love both rooms and we find them, especially in the winter, spending a lot of time in that space while also doing something physical, which is a huge bonus!
The fact that it’s behind a bookshelf is so fun (there’s literally no other entrance) and the kids love showing it off and it means we actually have a decent basement we can host in with a work-out space that is easily hidden!
What do you think about the room? What should we add?
Come visit and bring your kids!